Ankle Inversion Sprain Taping
View our comprehensive video tutorial or follow the step-by-step guide provided below.
Step-By-Step
To help you get the most out of your taping, we’ve developed a comprehensive video tutorial series—filmed and demonstrated by experienced physiotherapists. You can also follow along with our detailed step-by-step written guides provided below.
Please note: The content on this platform is intended for educational purposes only. While our tutorials are presented by qualified professionals, they do not replace personalised medical advice. Always consult with a healthcare professional before applying any taping techniques, and use the information provided at your own discretion.
Objective
To demonstrate a clinical taping technique
to stabilise the ankle following an inversion sprain (rolled inwards), using
rigid sports tape to reduce risk of re-injury and support return to activity.
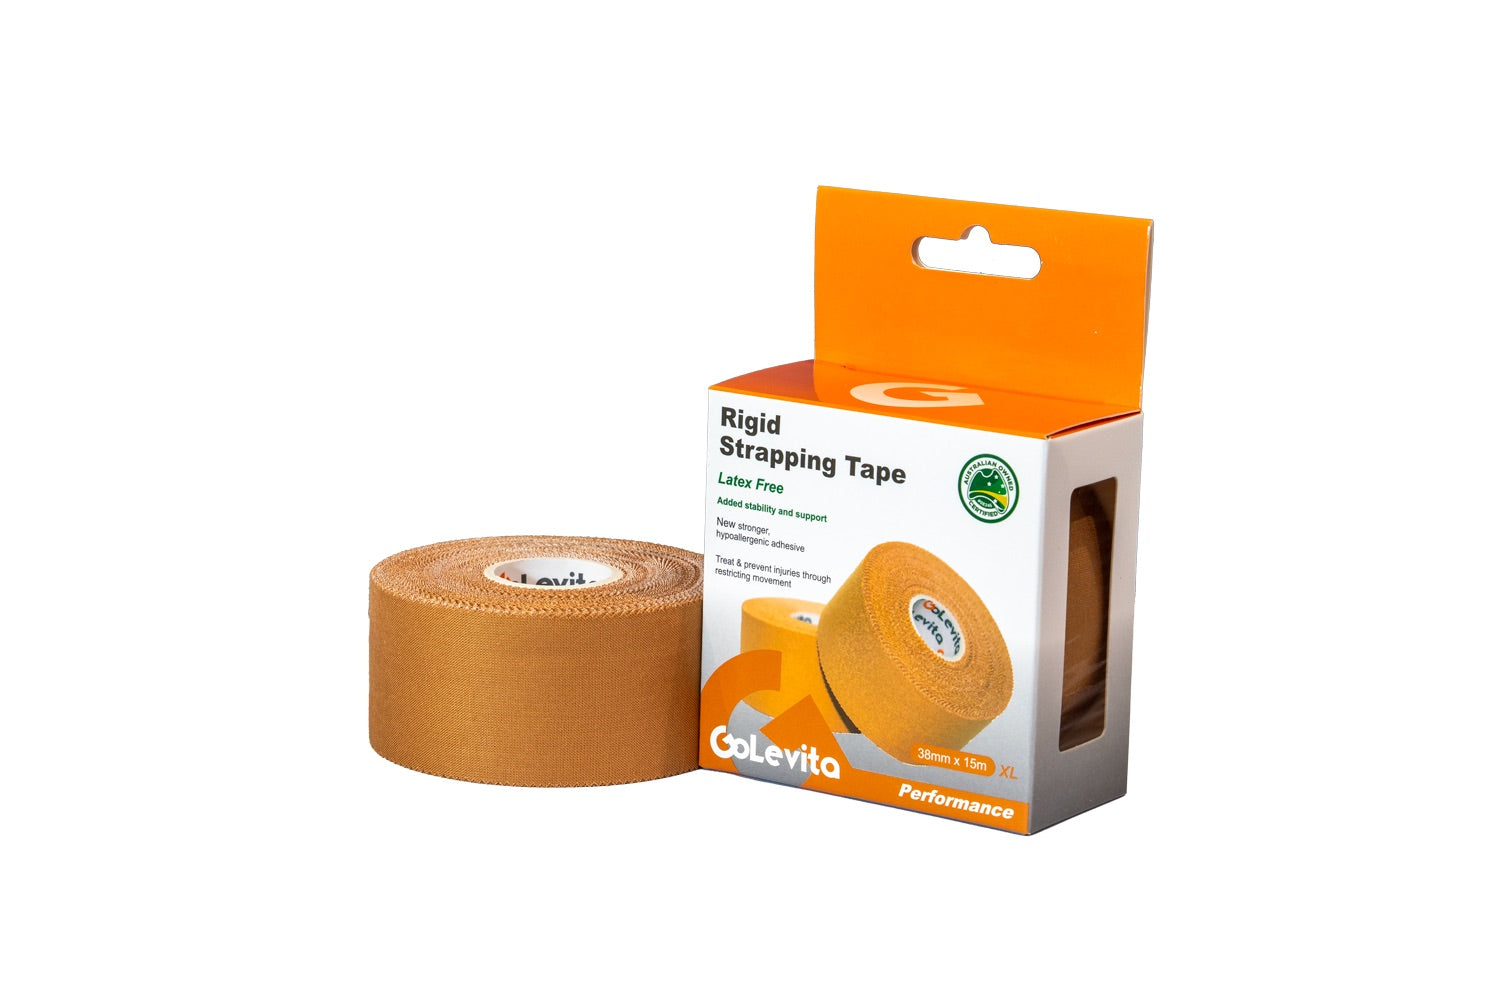
Materials Required
· Rigid Strapping Tape
(GoLevita 38mm or 50mm)
· Scissors or tape cutter
· Pre-wrap UnderFix (optional, based on
patient comfort or skin sensitivity)


1. Positioning the Patient
Ensure the ankle is clean, dry, and free from oils or lotion. The foot should be placed in a neutral position (90° angle at the ankle joint).


2. Apply Anchor Strips
Apply an anchor strip of rigid tape a few fingers above the medial and lateral malleoli (ankle bones), wrapping gently around the lower leg.


3. Apply Medial-to-Lateral Stirrups
Apply three stirrup strips:
- Start each from the medial (inside) side of the anchor.
- Wrap down and under the heel.
- Finish on the lateral (outside) side of the anchor.
- Overlap each stirrup by approximately 50%.
These strips help restrict inversion motion of the ankle.


4. Apply ‘Six’ Strips (U-Strips)
Apply two figure-six patterns (also known
as U-strips):
- Start on the lateral ankle.
- Cross over the top of the foot, pass under the heel, and finish where the
strip began.
- Repeat from the medial side.
These strips reinforce control of foot inversion and help stabilise heel
movement.


5. Apply Heel Locks / Figure-Eight
Apply one or two heel locks for maximum
support:
- Start on the lateral side of the ankle.
- Pass behind the heel and over the Achilles tendon.
- Wrap under the heel and back to the starting point.
- Repeat on the medial side if additional support is needed.
Heel locks are the most supportive component of this taping technique.


6. Final Anchor
Finish the tape job by applying a final anchor strip over the top of the previous tape layers, gently securing all components in place.


Key Notes
• This tape job is ideal for athletes
recovering from lateral ankle sprains or requiring external support during
high-risk activity.
• Always monitor for signs of restricted circulation (e.g., cold toes,
numbness, tingling) and remove immediately if discomfort occurs.
• Tape should be removed after activity and not worn continuously.
• Seek medical clearance before taping if the injury is acute or severe.