ACL Taping
View our comprehensive video tutorial or follow the step-by-step guide provided below.
Step-By-Step
To help you get the most out of your taping, we’ve developed a comprehensive video tutorial series—filmed and demonstrated by experienced physiotherapists. You can also follow along with our detailed step-by-step written guides provided below.
Please note: The content on this platform is intended for educational purposes only. While our tutorials are presented by qualified professionals, they do not replace personalised medical advice. Always consult with a healthcare professional before applying any taping techniques, and use the information provided at your own discretion.
Objective
To demonstrate a taping technique designed
to provide support for individuals returning from an anterior cruciate ligament
(ACL) injury, with the specific goal of limiting knee hyperextension.
Materials Required
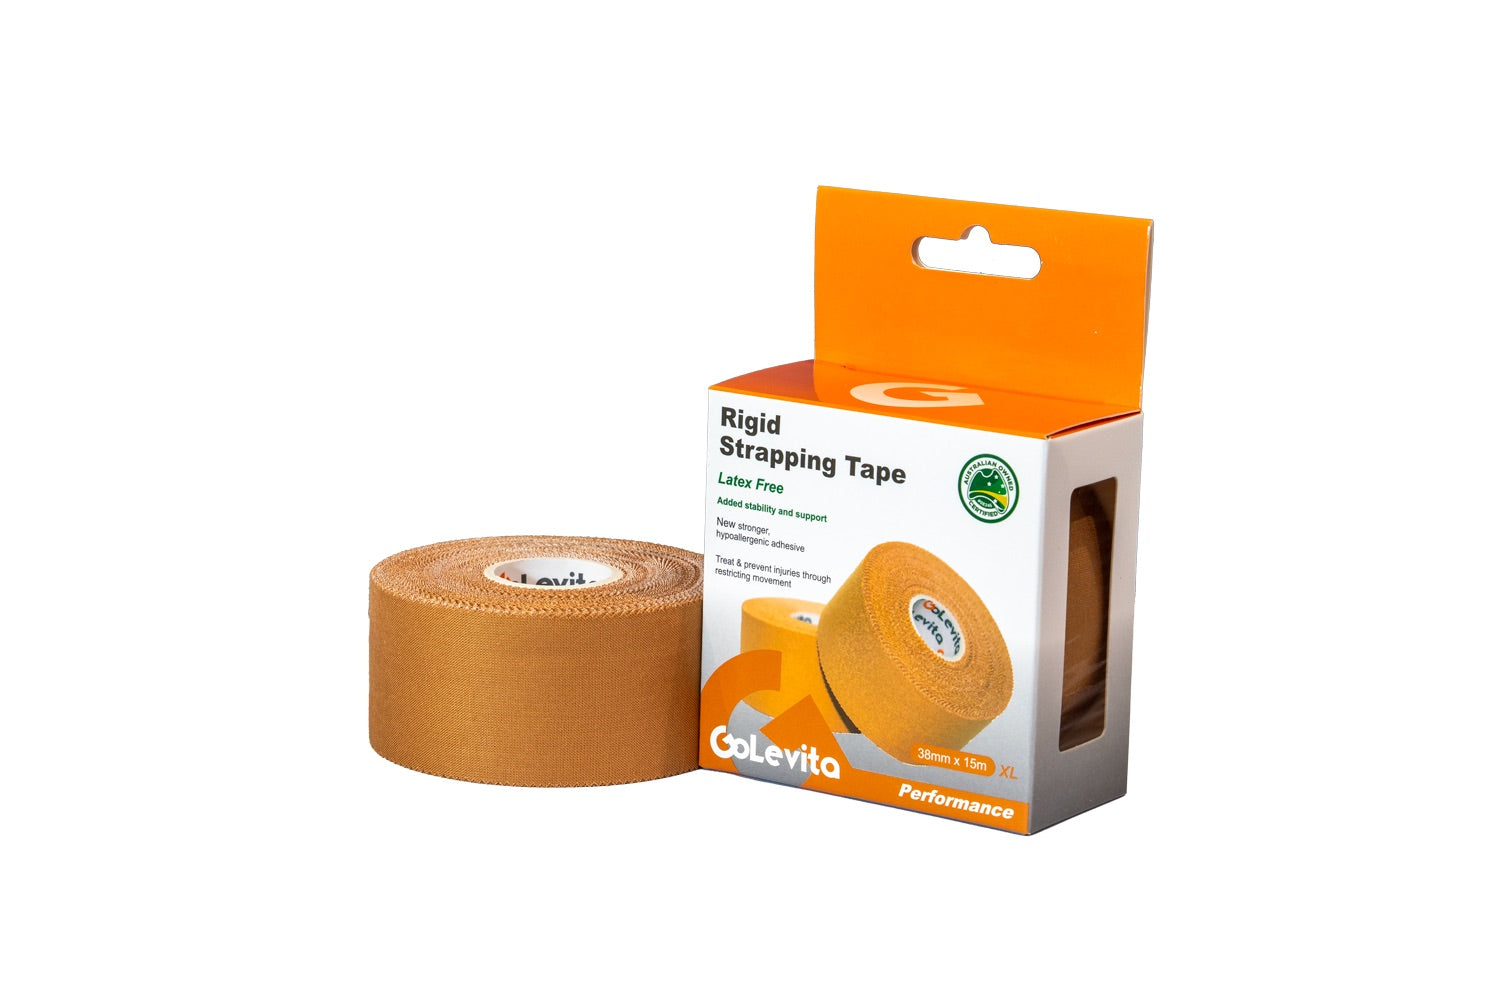
· GoLevita 50mm Rigid Strapping
Tape
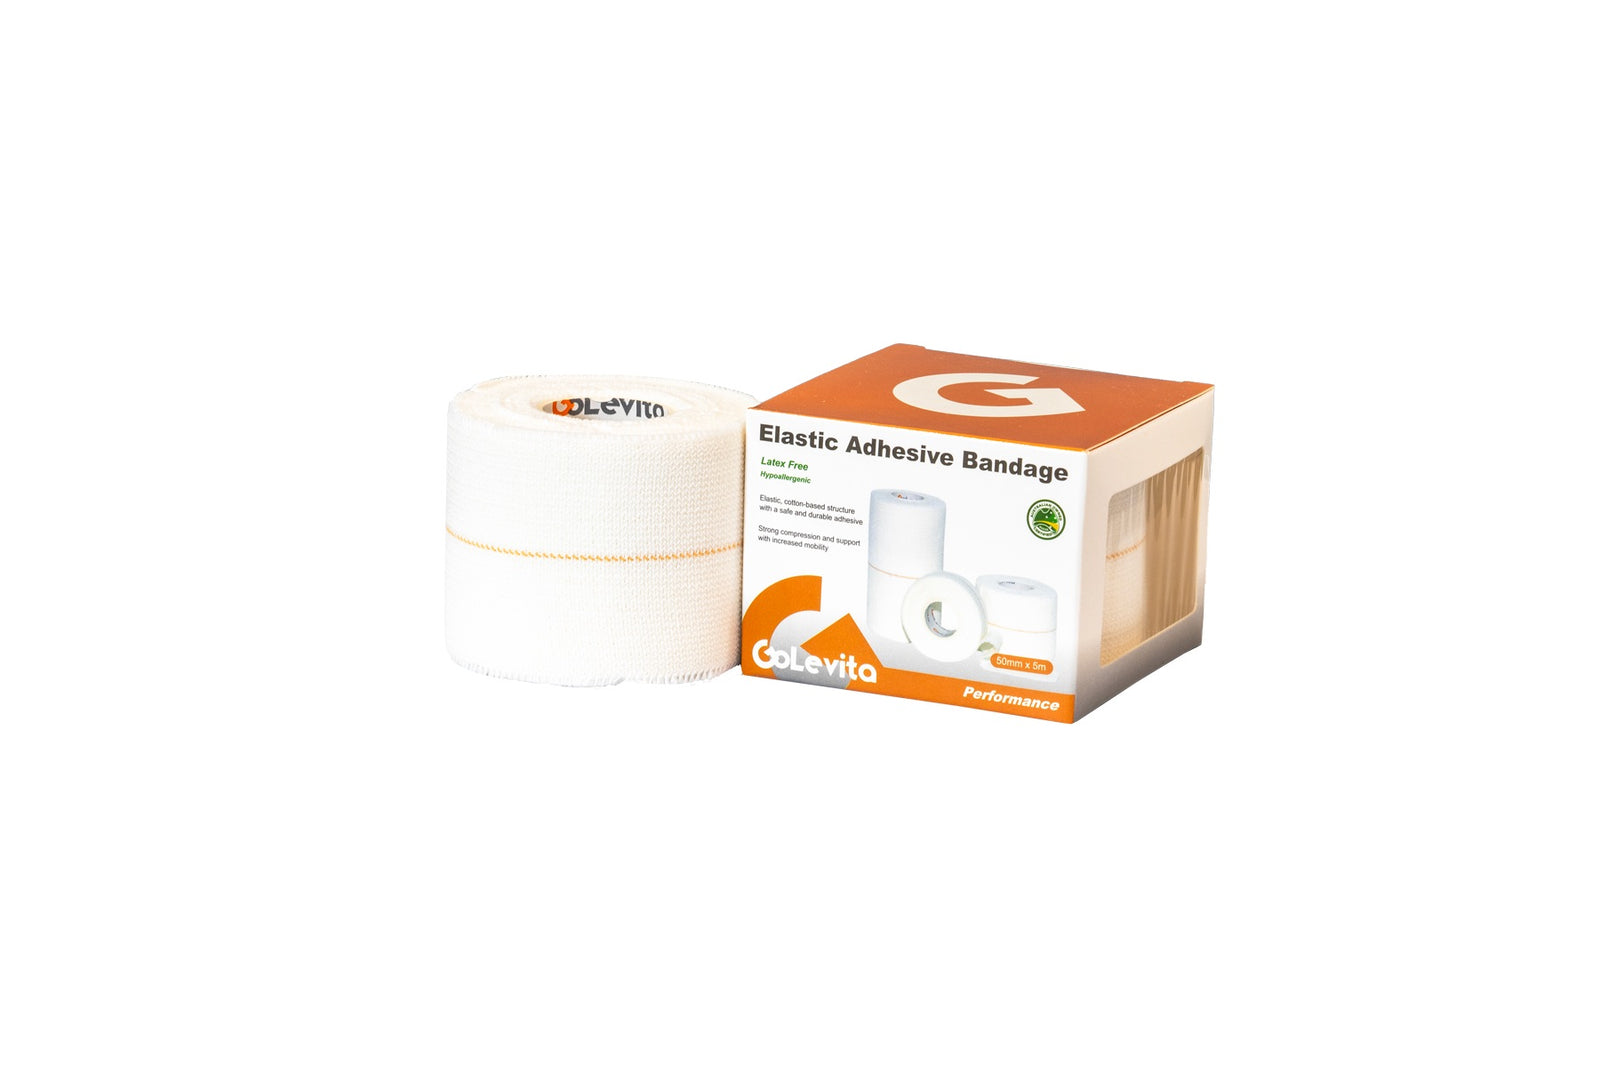
· GoLevita 75mm Elastic Adhesive
Bandage (EAB)
· Scissors or tape cutter
1. Positioning the Patient
Have the patient seated or standing with
the knee slightly flexed (not fully extended).
Ensure the skin is clean, dry, and free of oils or lotions. Shave if necessary.
2. Apply Anchor Strips
Anchor 1: Wrap a 50mm rigid tape halfway
around the thigh, just above the patella (knee cap).
Anchor 2: Wrap another strip halfway around the calf, just below the patella.
These anchors act as the foundation for your reinforcing strips.
3. Create Posterior Criss-Cross Support
Begin by applying 50mm rigid tape in a
criss-cross pattern across the back (posterior) of the knee:
- Start from the lateral anchor on the thigh to the medial anchor on the calf.
- Then cross from the medial thigh anchor to the lateral calf anchor.
- Overlap each strip by approximately 50%.
- Repeat for 2–3 layers to build support and reduce knee hyperextension risk.
This cross-bracing at the back of the knee provides a mechanical block to limit
overextension.
4. Reinforce with Elastic Tape
Use GoLevita’s 75mm EAB to reinforce the
rigid tape:
- Follow the same wrapping path over the criss-crossed rigid tape.
- Ensure moderate stretch is applied to support without restricting
circulation.
- Overlap slightly over each strip to create uniform tension.
The EAB adds compression and flexibility, securing the rigid base and improving
durability during movement.
5. Lock Off the Tape Job
Use additional 50mm rigid tape to lock off
both the upper and lower ends of the EAB wrap.
This prevents unraveling and secures the tape throughout activity.
Optional Variations
For increased support, especially in
high-contact sports or advanced rehab:
- Add more rigid tape layers in the criss-cross pattern.
- Reinforce the anchors more firmly.
Always consider individual patient needs, such as comfort, range of motion, and
support level required.
Key Notes
This taping method is not a substitute for
a structured rehabilitation program but serves as an adjunct to support
return-to-play decisions.
Monitor the patient for signs of circulation compromise (e.g., numbness,
tingling, discolouration).
Ensure patient education on self-monitoring and proper tape removal.


