AC Joint Taping – Acromioclavicular Support
View our comprehensive video tutorial or follow the step-by-step guide provided below.
Step-By-Step
To help you get the most out of your taping, we’ve developed a comprehensive video tutorial series—filmed and demonstrated by experienced physiotherapists. You can also follow along with our detailed step-by-step written guides provided below.
Please note: The content on this platform is intended for educational purposes only. While our tutorials are presented by qualified professionals, they do not replace personalised medical advice. Always consult with a healthcare professional before applying any taping techniques, and use the information provided at your own discretion.
Objective
To demonstrate a taping technique for
stabilising the acromioclavicular (AC) joint following shoulder trauma. This
method supports the clavicle and reduces aggravation of the joint, particularly
in contact sports or post-fall injuries.
Materials Required
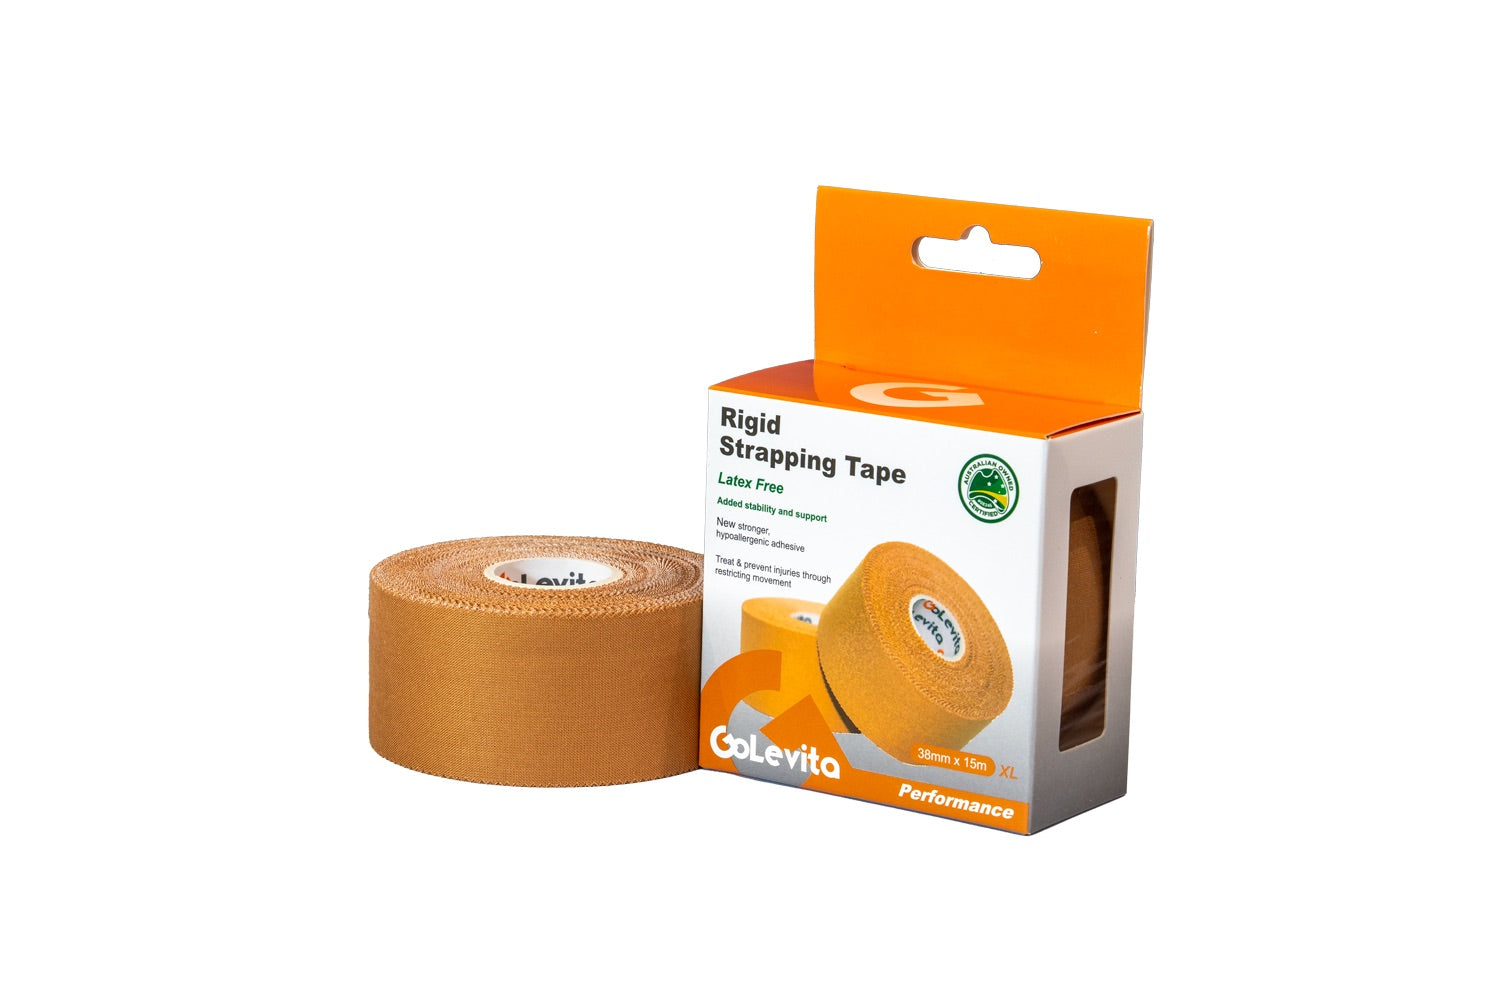
· GoLevita 38mm Rigid Strapping
Tape
· GoLevita 75mm Elastic Adhesive
Bandage (EAB)
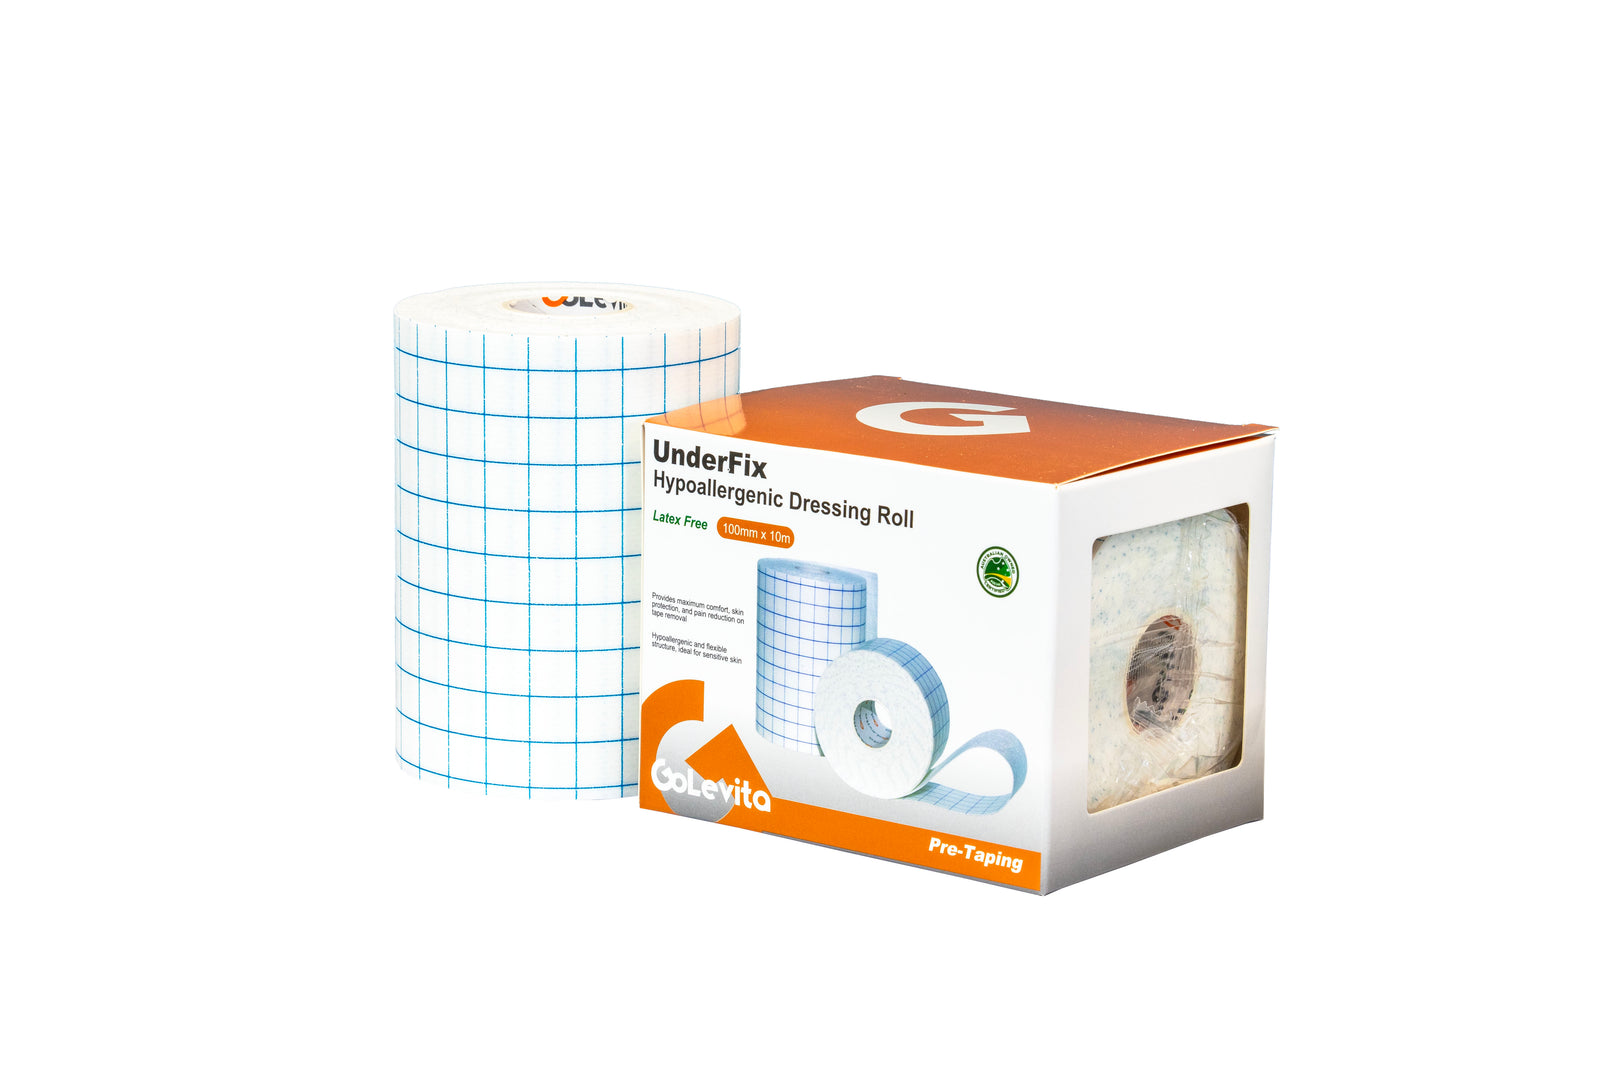
· GoLevita UnderFix or
hypoallergenic underlay
· Scissors or tape cutter


1. Skin Preparation and UnderFix
Apply GoLevita’s UnderFix from the lower chest line, over the shoulder, and across the upper back. This protects the skin in a sensitive area commonly irritated by direct tape.


2. Apply Anchor Strips
Apply two anchor points:
- Upper anchor: over the UnderFix on the top of the shoulder.
- Lower anchor: just below the deltoid, around the upper bicep. Ask the patient
to tense their bicep while applying this to prevent restricting blood flow.


3. Structural Support for AC Joint
Apply 2–3 rigid support strips from the
lower anchor upward to the upper anchor, crossing over the AC joint:
- Use a gentle upward lift during placement to support the acromion.
- Apply strips in a fanned or criss-cross pattern, overlapping each by 50%.
- Add additional strips if greater support or lift is required for the patient.


4. Reinforce with Elastic Tape
Use GoLevita’s 75mm EAB to overlay and
reinforce the rigid strips:
- Start at the anterior shoulder.
- Wrap over the rigid tape and around the shoulder.
- Ask the patient to tense their bicep again during application.
- Finish at the posterior aspect, overlapping the anchor.


5. Lock Off the Tape Job
Secure the EAB and rigid layers with one final strip of rigid tape over the upper anchor. Ensure all layers are sealed and supported.


6. Final Pattern Check
Once completed, the rigid tape should form a visible fanning or cross-pattern over the AC joint. This indicates proper structural alignment and lift support of the clavicle.


Key Notes
• This technique supports AC joint
stability following direct trauma or collision.
• Ideal for athletes in football, rugby, and contact sports.
• Always assess comfort, mobility, and circulation post-application.
• Tape should be removed post-activity and not worn for prolonged periods
without clinical guidance.